Licensed & Insured
★★★★★ 4.7 · 64 Reviews
24/7 Emergency
Free Estimates
Timmins & Area
(705) 700-1234
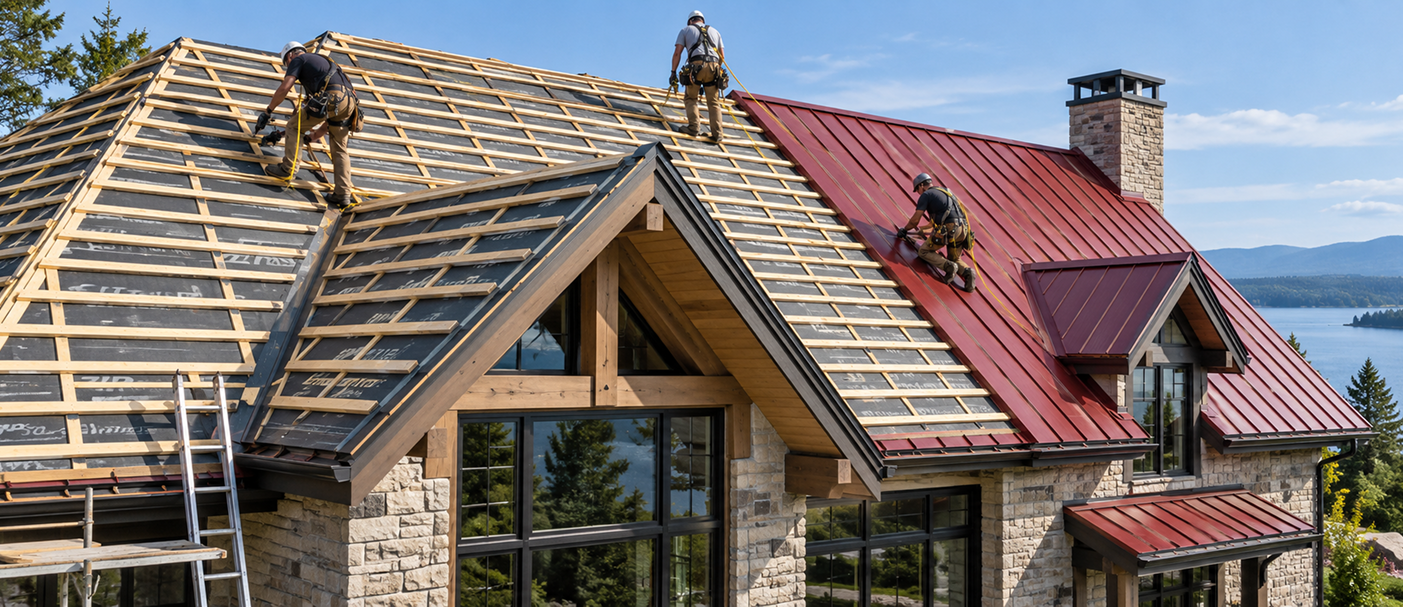
A roof being replaced on a lakeside home

Try out the AI visualizer

See what your project will look like before one nail is added.

Follow the steps below, or watch the short tutorial.

Video tutorial coming soon

📷
Drop house image here PNG, JPG, or WEBP · max 15 MB
No product selected — open the catalog to choose a door, window, roofing, or other item.
Selected catalog item
No item selected Catalog
💡

Select an item from the catalog, then paint the area you want to remodel.

3

Mask Editor

Paint the area you want changed. Roofing and driveway selections don't need masking.

100%
🏠

Upload a house photo to begin

Your image will appear here with a painting canvas on top for selecting the area to remodel.

📐 Place item in Scale: not set Pick an item from the catalog. Drag to draw the box to fit the opening; it keeps the product’s real proportions (Shift = free-draw). Set scale first (pick a known height, click its top & bottom) and the box reports real size + best-fit — or let ✨ Auto-pick choose the closest-size product for you. Generate seeds & blends each one.
⬚ Fix a spot Box junk (click corners, double-click to close); drag a corner to resize, then drag the box onto a clean area to copy over it. No AI — works on the image in the editor.
📐 Reference Click two points. Click a line to select it (halo), then Delete removes just that one; Clear all removes everything. Drag a line's body to move it (angle stays).
⟡ Perspective place (WallSolve / RoofSolve)
VP: —
origin: —
door × in   trim T/R/B/L
pos: in from corner, in below soffit
Draw a siding line → ① ; draw a known vertical length → ② ; click the corner → ③ ; set door + position → Place. Pick a patio door in the catalog first.

Mask Preview

No mask yet
Mask preview

Sent to AI

Selection guide

Rendered Result

No job yet
Your remodeled image will appear here after generation.
Generated remodel output

Before / After

Drag to compare
Before After
⬇ Download JPG

Lift the real roof and add a second storey

1 House photo
2 Outline the roof
Polygon: click each corner of the roof; straight lines connect them. Double-click (or "Finish") to close. Freehand: hold & drag.
◧ Wall width
Click the far-left then far-right edge of the house walls (any height). Keeps the new storey as wide as the walls, not the roof overhang.
3 Set the scale
Click two points on something you know the height of (e.g. the wall, top to bottom), then enter its real height.
Scale: not set
4 Raise height
ft
8 ft wall + 11″ joists + 1″ subfloor ≈ 9 ft. The real roof and its eave lift together as one piece.
5 Fill the new wall
Pick siding for the new storey (matches best if close to the existing).
Loading siding…
Zoom 100% Zoom in to box small junk precisely; the image scrolls.
Upload a house photo to begin.
⬚ Fix a spot Box the junk (click corners, double-click to close); drag a corner to resize, then drag the box onto clean siding — preview shows, release to apply. No AI — instant.
Generating the new storey… this can take a minute.

Generating remodel…

The AI is editing your house image. This usually takes 10–30 seconds.